Monorepo is a software development strategy in which a single repository contains code for multiple projects with shared dependencies. It has a number of advantages:
- It is easier to manage dependencies in monorepo projects. Common dependency versions are used, which saves a lot of time and computational power.
- It is easier to refactor code across all packages.
- Reusability of code is ensured.
And, like everything else in the world, the monorepo approach has certain disadvantages:
- Including multiple versions of a dependency in different packages might cause dependency conflicts.
- It degrades performance in version control systems, such as Git, due to higher memory usage.
- Higher chances of merge conflicts.
- Initial setup takes a long time.
Tools Used to Set Up a Monorepo Project
- Lerna is used to optimize the management of monorepos. We'll use this tool to manage shared dependencies.
- Yarn Workspaces is used to optimize and link different packages together.
- Storybook is used to build and test UI components.
Lerna
Lerna is a tool used to manage monorepos. The repositories are structured into sub repositories. It is typically used in large codebases for shared dependency management and code deployment. Lerna has two major features, namely bootstrap and publish.
lerna bootstrap
This is a command provided by Lerna that does the following:
- It installs the dependencies of all the packages within the monorepo.
- It creates links between shared dependencies so that the same package is not installed twice.
lerna publish
The publish command publishes the package updated since the last version release.
Yarn workspaces
Yarn workspaces are used to optimize dependency management. When we use yarn workspaces, all project dependencies are installed in one go. Tools like Lerna make use of Yarn workspaces' low-level primitives.
Using Yarn Workspaces
Let us assume that we have two repositories, namely packages/repo-a and packages/repo-b, within our monorepo structure. To use workspaces, add the following to the package.json file of the root repository.
{
  "private": true,
  "workspaces": ["packages/*"]
}
This adds all the folders within packages as a Yarn workspace. Now, if we run yarn install, dependencies of both repo-a and repo-b are installed.
Setting up Your Project
We will be using yarn as a package manager. To set up Yarn in your machine, install it from the official yarn website.
Let us create a package.json for our project:
{
  "name": "monorepo",
  "version": "1.0.0",
  "private": true,
  "workspaces": ["packages/*"]
}
The workspaces option is used to specify which subfolder contains the various packages in our monorepo. Each folder within packages will be considered a separate project.
Now, let us set up Lerna as a developer dependency of our project. Create a new folder called monorepo. Open a terminal window and enter the following command:
yarn add lerna -D -W # add lerna as developer dependency, in the workspace root
yarn lerna init
This initializes a lerna.json configuration file. This file contains configuration parameters through which we can set up commands for various tasks. We can also define which package manager Lerna uses, such as npm or yarn. The above command also initializes a package folder where the projects can be located. In the lerna.json file, add the npmClient option to specify yarn as the package manager.
{
  "packages": ["packages/*"],
  "npmClient": "yarn",
  "version": "0.0.0",
  "useWorkspaces": true
}
We have successfully set up the boilerplate for our monorepo. Now, let us set up a UI component library and a framework for testing the UI component library.
cd packages
mkdir monorepo-storybook && cd monorepo-storybook
yarn init
When you run yarn init, select all the default options. Let us install the required dependencies.
yarn add react react-dom
yarn add babel-loader -D
You may have noticed that the dependencies were not installed in a node_modules folder in the monorepo-storybook folder. Instead, it was installed within the node_modules folder in the root folder. This is how monorepos work with shared dependencies.
Now, let us configure storybook. Out storybook will be initialized, and the scripts required to install storybook will be configured.
npx sb init
Once it is configured, run the following script to start storybook:
yarn storybook
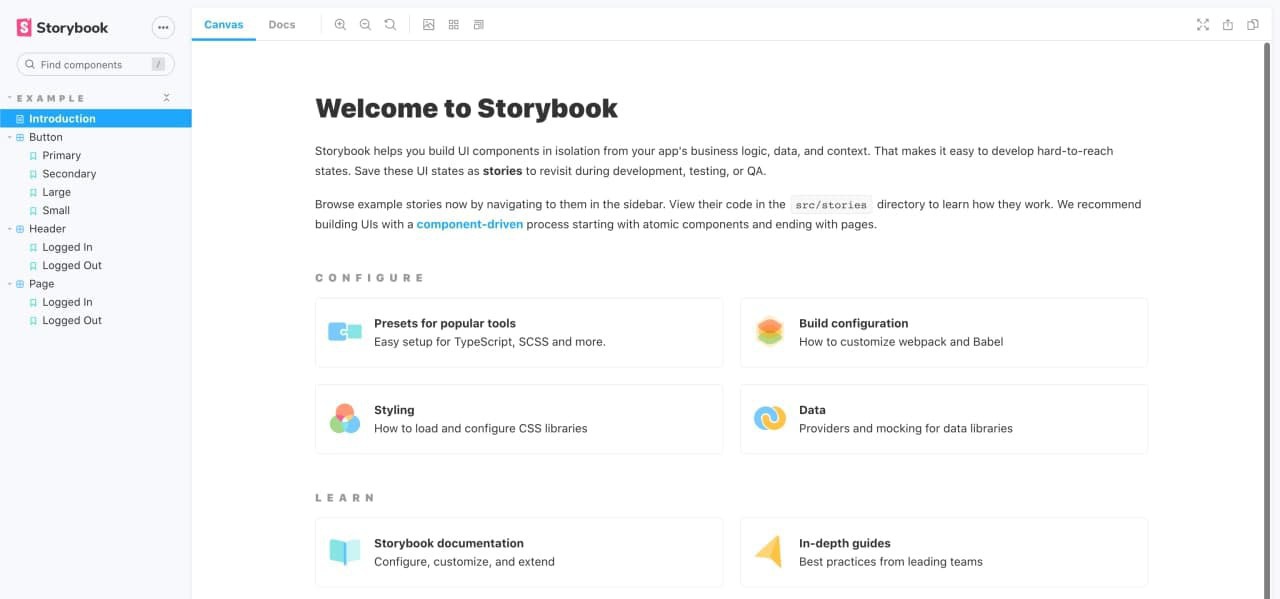
Some sample stories have been created for us. Let us explore and check out the storybook interface.
 Storybook's Interface
Our storybook setup has been configured successfully. Now, let us create our component library. This will be under a different package. Under the packages folder, create a folder named components and then initialize the package by creating a package.json file.
Note: Storybook isn't directly related to monorepos. It is just a framework for creating UI components. We are using Storybook to demonstrate the use of monorepos.
{
  "name": "components",
  "version": "1.0.0"
}
Create a file named Welcome.js. Let us create a simple React component that displays a name, based on the prop passed to it.
// Importing the react library
import React from "react";

export default function Welcome(props) {
  // Display the name passed as props
  return <h1>Hello, {props.name}</h1>;
}
Let us now initialize a story in storybook. Create a file called Welcome.stories.js within monorepo-storybook/stories folder.
// Importing the react library
import React from "react";
// The storiesOf API is used to display stories in storybook
import { storiesOf } from "@storybook/react";
// Importing our react component
import Welcome from "../../components/Welcome";
// Displaying the component
storiesOf("Welcome", module).add("Welcome component", () => (
  <Welcome name="Harsha"></Welcome>
));
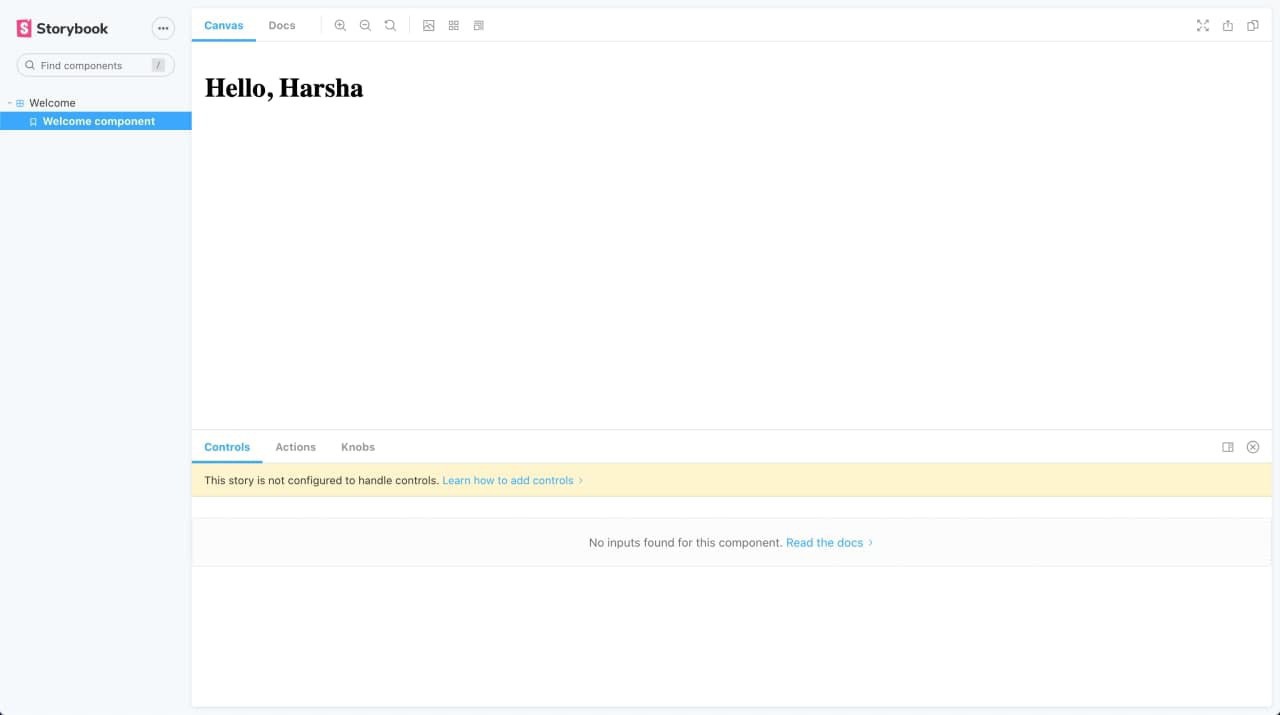
The storiesOf API is used to create and display stories. Let us now check the browser. We can see that a new story is created, and our component is displayed.
 The component as viewed in Storybook
Conclusion
Let us recap what we've learned in this article.
- We learned about monorepo projects and how they are prominent in open-source projects.
- We discussed the pros and cons of using the monorepo structure in a project.
- We learned about various tools, such as Yarn Workspaces, Lerna, and Storybook, which we used to set up the monorepo project.
- We walked through the steps involved in creating the project.
- We learned how to set up Storybook and created a components library.
You can find the final code for everything we’ve discussed at the following link.
Further Reading
You can expand upon your knowledge by checking out the following resources. Happy learning!
- Yarn Workspaces: Documentation
- Rush: An alternate monorepo tool: Documentation
- Build a design system using a Monorepo: Medium


