How to dockerize a Django, Preact, and PostgreSQL Application
During my recent deep dive into new technologies, I found the classic issues of integrating numerous tech tools effectively. I've written about my experiences to save you the trouble I had.
One essential component I've looked into is using Docker to implement containerization. While the initial setup takes a little longer, it significantly simplifies and optimizes your technological stack.
Prerequisites
To follow along with this tutorial, make sure you have the following:
We'll start a Django application and then a Preact application, containerize them both, run the containers, and then create an API to ensure the stack works correctly.
Getting started
To start, create an empty folder; we'll name ours django-preact-docker and navigate to this folder from the terminal.
We'll follow the first steps of creating a Django application - creating a virtual environment, activating it, and then installing Django.
(If virtualenv is not installed, run pip install virtualenv)
Run these commands in the terminal:
virtualenv venv
source ./venv/bin/activate
Then, with our virtual environment running, install Django along with some other dependencies:
pip install django django-cors-headers psycopg2-binary
Now, we can create a new Django project and get it running on our local server.
Setting Up Django
From the terminal, navigate to django-preact-docker, and run:
django-admin startproject backend
The above command creates a new folder, backend. Navigate into this folder:
cd backend
And then start the project:
python manage.py runserver
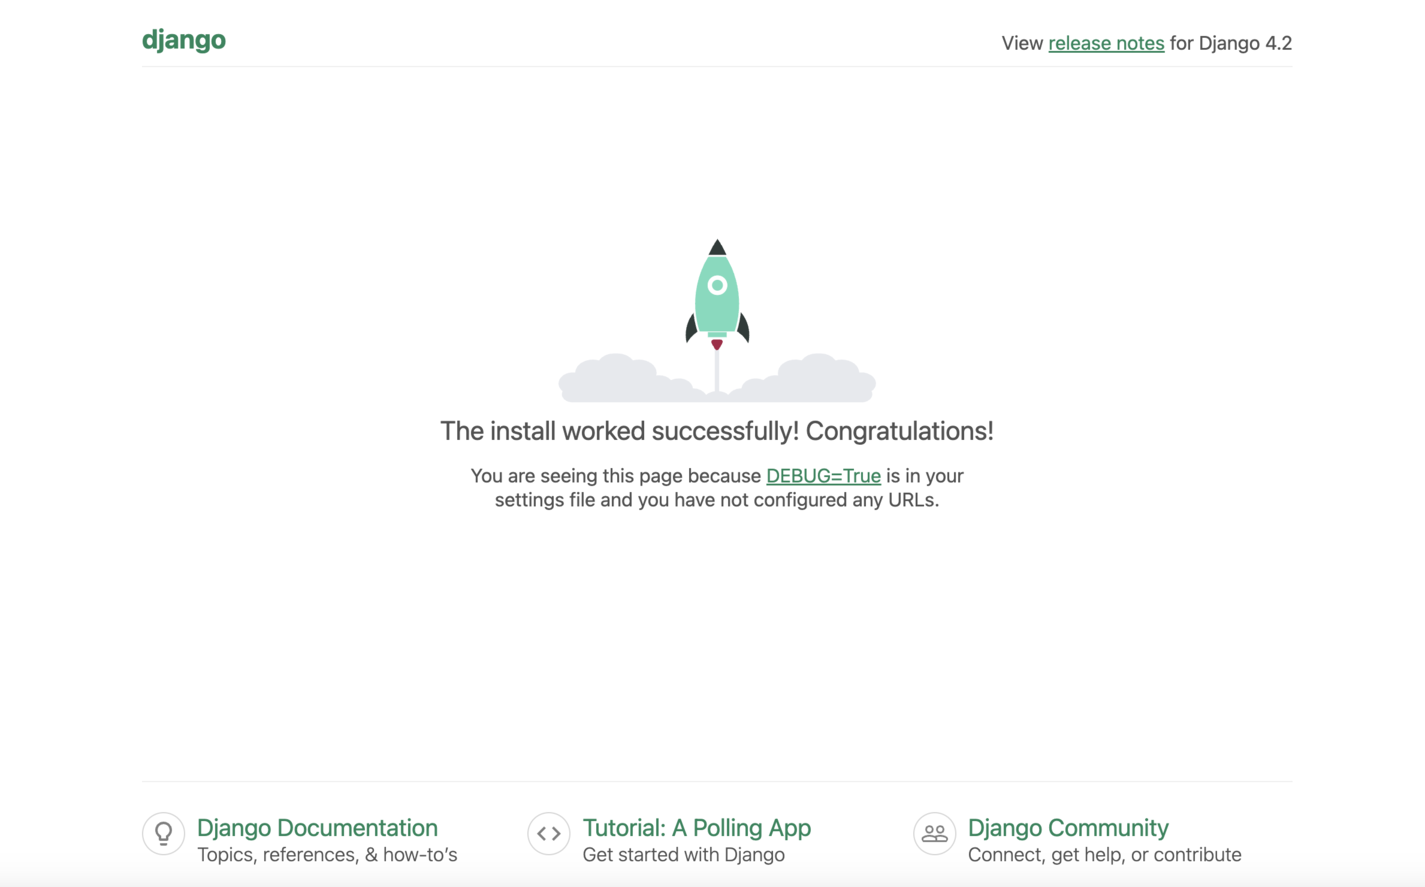
You can test if the server is running by going to: http://127.0.0.1:8000/

Finally, create a requirements file that will hold our requirements for the project. While in django-preact-docker/backend, run:
pip freeze > requirements.txt
Setting up our Preact application
Head back to our root folder django-preact-docker.
In the terminal, run:
npm init preact
When prompted, change the project directory to "frontend," then hit enter for the rest of the options.
Once installed, from the terminal, navigate into django-preact-docker/frontend and run the following command to set up a development server:
npm run dev
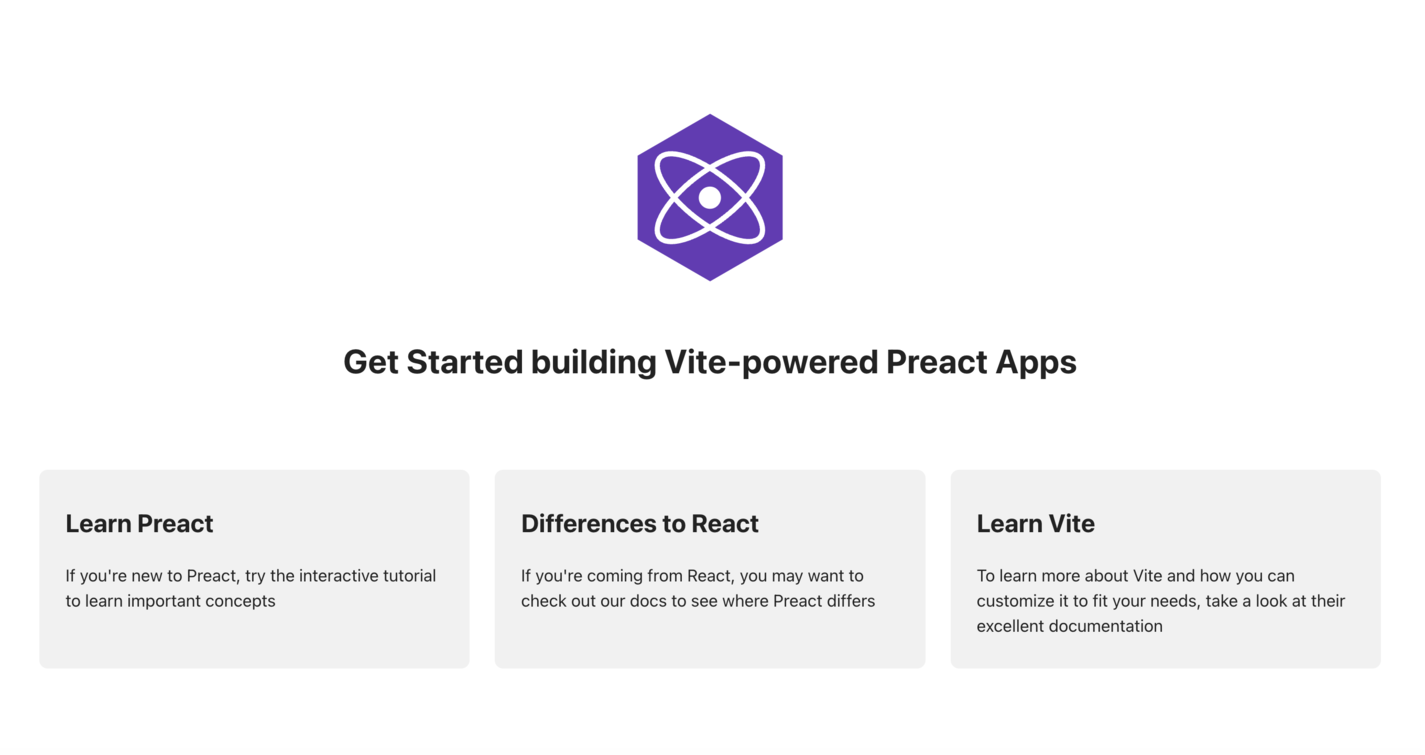
Once the server has started, it will print a local development URL to open in your browser. Check if this is working before moving on!

Containerizing
Next, we must create configuration files, so Docker knows what to do.
Containerize Django
Navigate to django-preact-docker/backend and create a new file:
touch .dockerignore
Open the file and add the following:
# The file may be hidden on Finder; the default macOS shortcut is Shift-Command-. to show hidden files
venv
env
.env
Dockerfile
Next, run:
touch Dockerfile
Open it and add:
FROM python:3.8-alpine

ENV PYTHONUNBUFFERED 1

WORKDIR /app/backend

COPY requirements.txt /app/backend/

RUN apk add --update --no-cache postgresql-dev gcc python3-dev musl-dev

RUN pip install -r requirements.txt

COPY . .

CMD [ "python", "manage.py", "runserver", "0.0.0.0:8000" ]
In the above code:
FROMspecifies the parent image that we'll be usingENVsets the environment variablePYTHONUNBUFFEREDto "1" to give us real-time log output.WORKDIRspecifies the working directory within the container.COPYthe requirements file to the working directory and later install the requirements.RUN, install some more dependencies for psycopg-2,COPYthe content of our backend to the Docker container- The starting command for our container
Containerize Preact
Go to django-preact-docker/frontend and create a new file:
touch .dockerignore
Open the file in your text editor and add the following:
node_modules
npm-debug.log
Dockerfile
yarn-error.log
Go back to the terminal in frontend and create another Dockerfile:
touch Dockerfile
Open and edit "Dockerfile" to contain:
FROM node:16-alpine

WORKDIR /app

COPY package*.json ./

RUN npm install

COPY . .

EXPOSE 5173

CMD ["npm", "run", "dev"]
Lastly, we must add the new npm run dev script. Head to frontend/package.json and change scripts too:
"scripts": {
  "dev": "vite --host 0.0.0.0",
}
Packaging our applications with Docker Compose
Next, we must create a configuration file to run our two Docker containers together. In the main folder, django-preact-docker, create a new file called docker-compose.yml:
touch docker-compose.yml
Open it and edit it to contain the following:
version: '3.9'

services:
  db:
    image: postgres:14-alpine
    ports:
      - '5432:5432'
    environment:
      - POSTGRES_PASSWORD=postgres
      - POSTGRES_USER=postgres
      - POSTGRES_DB=postgres
    volumes:
      - ./data/db:/var/lib/postgresql/data/

  frontend:
    build:
      context: ./frontend
      dockerfile: Dockerfile
    ports:
      - '5173:5173'
    volumes:
      - ./frontend:/app/frontend
    depends_on:
      - backend

  backend:
    build:
      context: ./backend
      dockerfile: Dockerfile
    environment:
      - POSTGRES_PASSWORD=postgres
      - POSTGRES_USER=postgres
      - POSTGRES_DB=postgres
    ports:
      - '8000:8000'
    volumes:
      - ./backend:/app/backend
    depends_on:
      - db
The Docker Compose file tells Docker how the different containers work together.
Build the containers
Go to the root django-preact-docker from the terminal and run the following command (this may take a while):
docker-compose build
Once complete, you should see the images in Docker Desktop.
You can then run the containers with the following:
docker-compose up
After this, the servers are accessible at the ports:
- 5173 for frontend
- 8000 for backend
- 5432 for the database
You should check that they're running correctly first before moving on.
Press Ctrl + C or run docker-compose down to stop the containers.
Additional setup
We need to change a few settings,
Navigate to the backend folder and change settings.py to:
DATABASES = {
    'default': {
        'ENGINE': 'django.db.backends.postgresql_psycopg2',
        'NAME': 'postgres',
        'USER': 'postgres',
        'PASSWORD': 'postgres',
        'HOST': 'db',
        'PORT': '5432',
    }
}
Also, we need to change CORS further below in settings.py. The CORS configuration allows our different applications to communicate across different domains in the web browser:
INSTALLED_APPS = [
    'corsheaders',  # add this
]

MIDDLEWARE = [
    ...,
    "corsheaders.middleware.CorsMiddleware",
    "django.middleware.common.CommonMiddleware",
    ...,
]

CORS_ALLOW_ALL_ORIGINS = True
Testing the stack works together
Finally, we'll build a simple response code to send data from the Django backend and ensure everything works together.
In backend/backend, create a new file, views.py, and paste the following:
from django.http import JsonResponse

def get_text(request):
    text = "All operational from the Django backend!"

    data = {
        'text': text,
    }

    return JsonResponse(data)
Then open urls.py and add these two lines:
from .views import get_text
And in URL patterns:
urlpatterns = [
    # other code
    path('test/', get_text),
]
from django.contrib import admin
from django.urls import path
from .views import get_text

urlpatterns = [
  path('admin/', admin.site.urls),
  path('test/', get_text),
]
You can now see this text on http://localhost:8000/test/.
To display it in our frontend, navigate to frontend/src/index.jsx and change it to the following:
import { render } from 'preact';
import preactLogo from './assets/preact.svg';
import './style.css';
import { useState, useEffect } from 'react';

export function App() {
    const [text, setText] = useState(null);

    useEffect(() => {
        fetch('http://127.0.0.1:8000/test/')
            .then(res => res.json())
            .then(data => {
                setText(data.text);
            });
    });

    return (
        <div>
            <h1>An unbeatable tech stack</h1>
            <a href="https://preactjs.com" target="_blank">
                <img src={preactLogo} alt="Preact logo" height="160" width="160" />
            </a>
            <p>Running Preact, Django, Postgres, and Docker</p>
            <p>{text}</p>
        </div>
    );
}

render(<App />, document.getElementById('app'));
Refresh and reload, and you should see a working Preact front page!
Conclusion
By containerizing your technology stack with Docker, you've taken a significant step toward seamless integration and enhanced efficiency. While the initial setup might have required some effort, the benefits are clear.
Now that you've containerized your tech stack, including Django, Preact, and Postgres, you can explore, innovate, and navigate the ever-evolving tech landscape more effectively—a pivotal moment in your tech journey. Embrace the possibilities, and may your adventures be characterized by streamlined integration and boundless creativity!

Written by
Charlie Macnamara